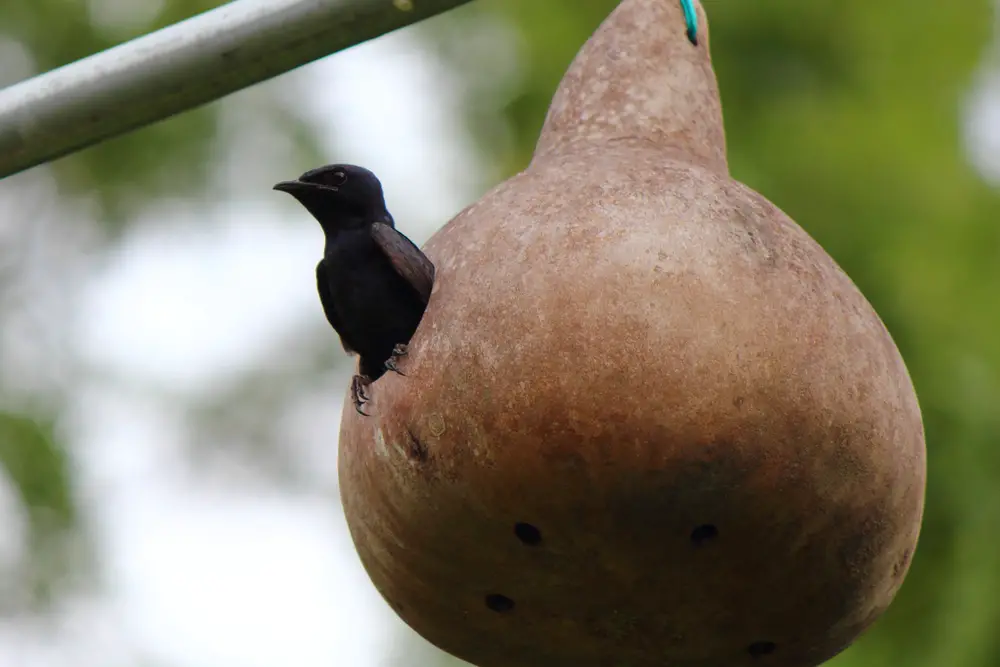
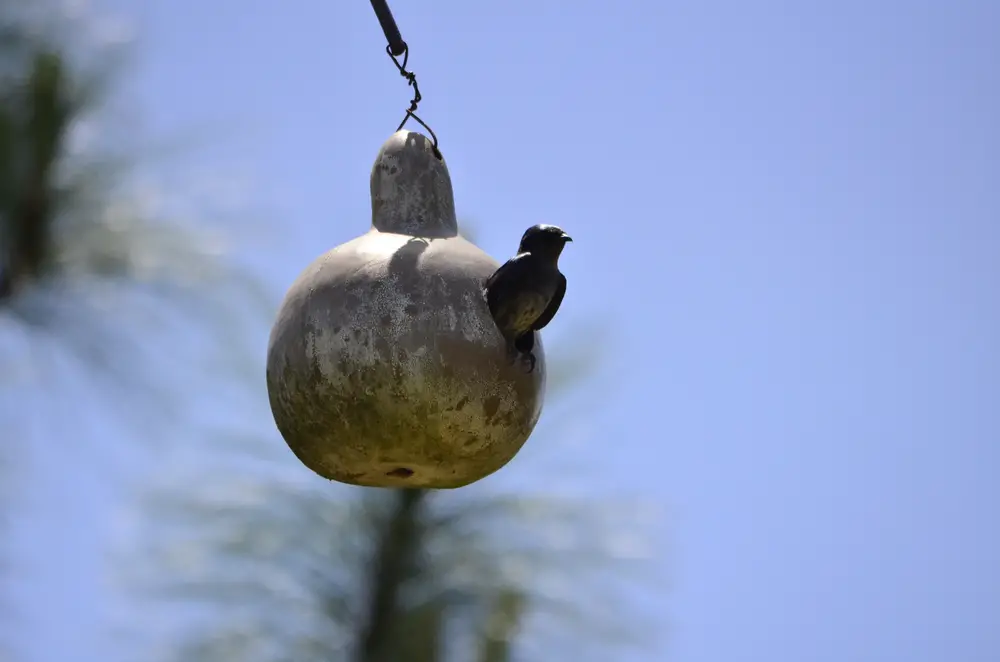
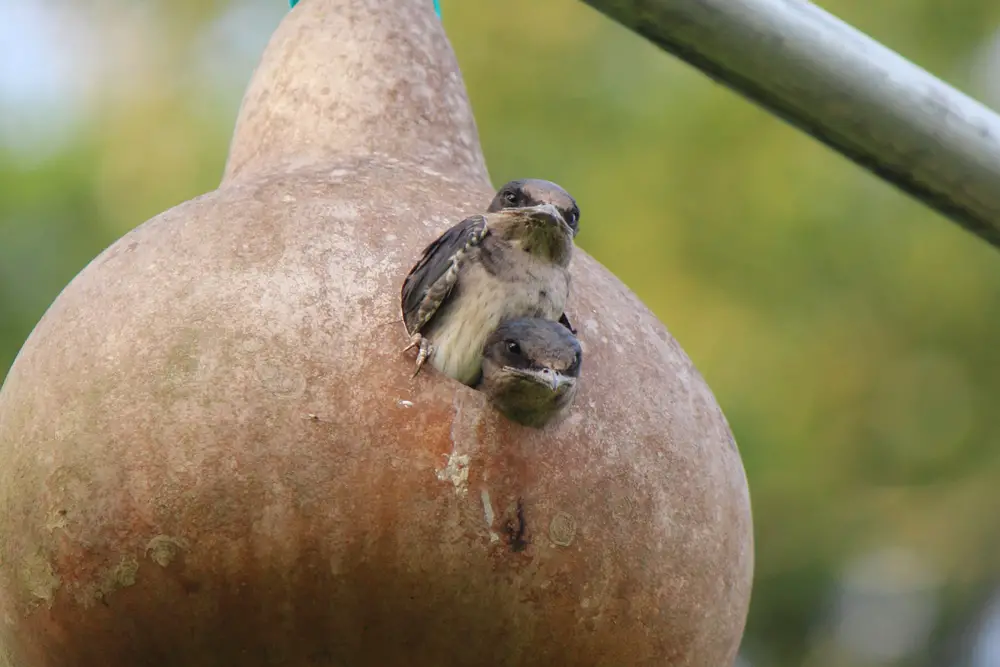
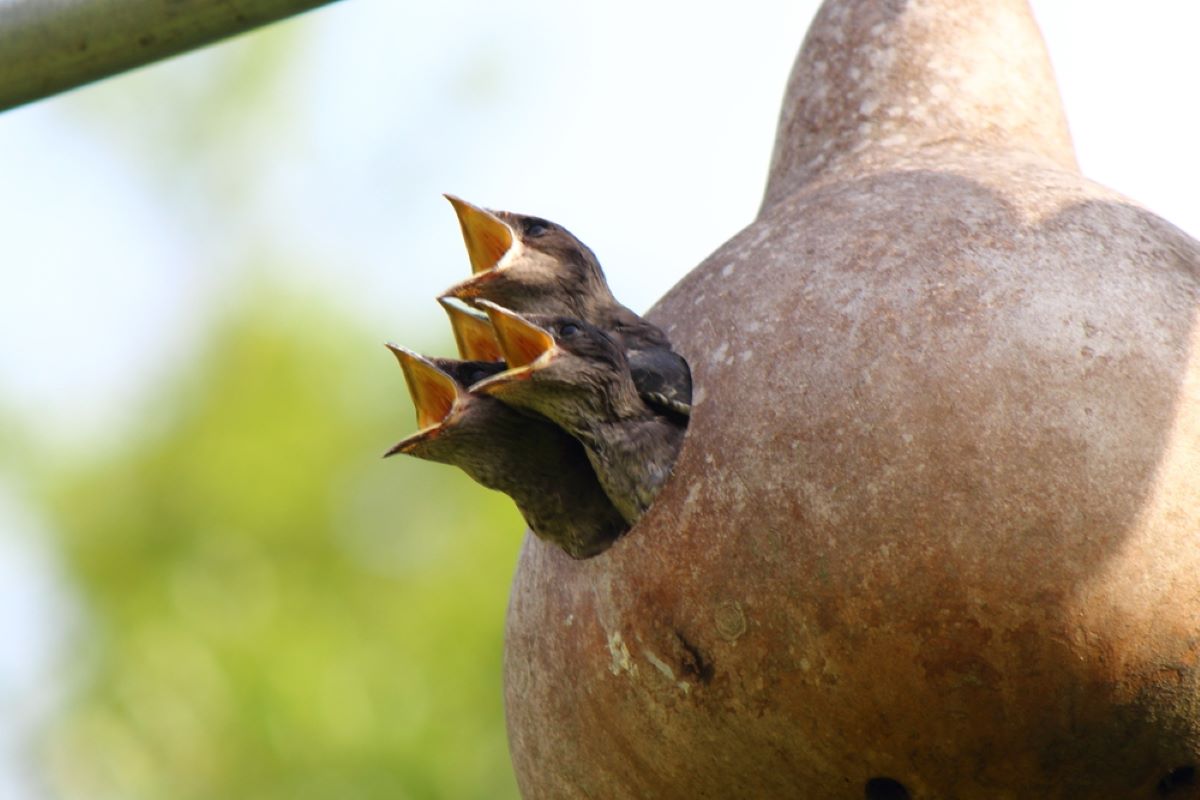
Purple martin gourds are ideal for welcoming purple martins into your yard. These are easy to make, and all you need is a dry gourd, a wire, and a drill. Moreover, these materials and tools allow you to make similar homes for other birds in the area.
Here you’ll learn how to attract purple martins, how to make their homes, and what to offer them to eat. You’ll also see which commercial gourd homes are great to purchase and how to maintain them. Check the info below.
Purple Martins Overview
Purple martins (progne subis) are gorgeous little shiny bluebirds you’ll love having in your yard. Their conservation status is a low priority concern, so you might have plenty of them visit you during the season. If you install a house for them, you might get a whole martin colony, especially if you live near water.
Their favorite foods are insects they’ll forage during flight. Martins nest in cavities, so setting out gourds is a good idea. Purple martins are among the largest swallows and migrate to South America for the winter.
Purple Martin Gourds
The origin of purple martin gourds comes from Native Americans. They hung up empty gourds for martins well before Europeans arrived in North America. Today, purple martins located in eastern North America nest in birdhouses. Those in the west will use natural cavities.
Still, purple martin’s gourd won’t be used by this bird alone. House sparrows and European starlings are known to use their homes until martins return in the spring. Tree swallows and bluebirds might also nest inside and even share the habitat with martins once they’re back.
If you decide to get gourds for purple martins, you can also get a few more for other bird species. Chickadees, wrens, and woodpeckers also like to get snug inside a gourd-like home. However, these need a different size entrance, so check the requirements for every bird before making the gourd.
Do Purple Martins Prefer Gourds or Houses?
Purple martins can live in both gourds and gourd-like houses. They don’t mind the shape, for as long as the location is good. These birds’ homes need to be in the open area. This allows them to land straight into the house from several directions.
For as long as you place their gourd or house away from trees and other obstacles. As a general rule, place the house 60 feet away from any tree that’s taller than the height of the house. Still, keep it close to your home, as purple martins love seeing people around.
What Are the Best Gourds for Purple Martins?
The best gourds are the ones that provide enough space and protection from predators. Each compartment inside should be at least 6 inches by 6 inches by 12 inches. Make the gourds too small, and martins won’t be able to lay a full clutch of eggs and raise their young.
Additionally, the gourd or the house should allow you to easily open and clean it. Keep in mind that martins love people and won’t mind you checking in. You’ll want to keep their homes clean of eggs from other bird species.

Purple martin bird house you can buy
If you’re looking to purchase some martin houses, Amazon, Etsy, and other platforms likely have these in stock:
- Set of 12 Troyer’s SuperGourds with Round Entries
- BestNest MP19P, White, Heath Telescoping Martin House, and Gourds Pole
- Troyer’s Deluxe Gourd Rack with 12 Crescent SREH Gourds
- Heath 18-Room Deluxe purple martin House with Decoys
- Birds Choice PMSR12 Starling Resistant Entrance Holes 3 Floor/12 Room
- Purple martin Deluxe Gourd Rack System with 12 Troyer Gourds
- Fms Ravenox purple martin Gourd Rack
- Songbird Essentials PMCA Excluder Ultimate Gourd Excluder
- Gourd Birdhouses Painted Gourd Art – 3 Gourd Combo
- JCs Wildlife Ultimate Eastern and Western Bluebird House
How Do You Make Purple Martin Houses Out of Gourds?
If you decide to DIY purple martin houses, know those are super easy to make. However, you’ll need good preparation to make a lovely and functional home for your feathered friend. Cured hard-shell gourds are a good choice. They’ll last up to 30 years if you coat them properly and handle them well.
Furthermore, these basic gourd birdhouses are favorites among purple martin landlords and the birds. Plus, there’s no limit to how many homes you can post in your yard. There’s a case of a purple martin fan who hung up over 600 gourds to welcome the birds.
Preparing the Natural Gourd
If this is your very first time acutally working with a gourd, you’ll need to harvest a hard-shell one. Do this when the vines wither, but leave the stem attached. The best size is around 8 to 13 inches. Proceed to wash it with water, rinse in a solution of 1 part bleach (or another disinfectant) and 10 parts water.
Dry your gourd with a towel and hang it in a sunny space or place it in a warm, dry spot for up to 6 months. Turn it around frequently and ignore the mold that appears. That’s a natural part of the curing process.
If you dry the gourd inside, wipe the mold with the same concentration of disinfectant you used to clean it. However, if any gourd becomes soft or wrinkled, throw it away as it won’t dry properly. You’ll know when the gourds are ready if you hear the seeds rattle inside when you shake them.
Select the Materials
Now is the time to prepare other materials and tools you’ll use in the process. Here’s what you’ll need:
- Several dry gourds
- Bleach solution
- Fine steel wool
- Plastic-coated copper wire, 24 inches long
- Wood preservative (or copper sulfate)
- Oil-based primer
- Oil-based white paint
- Face mask
- Power drill
- A proper hole saw, or a keyhole saw
If you’re not highly skilled in DIY projects, include some replacement parts on the list in case you cut the wire too short or spend too much primer.

Steps Involved in Making the Gourd House
There are 7 steps in making the gourd house. Follow the instructions below for the best possible result.
Step 1 — Process the Gourd
Once you see your gourd is ready, do one final rinse to remove all the mold. Soak it in soapy water for around 15 minutes. Use a dull knife to remove the mold and scrub it with fine steel wool. Rinse it one more time and let it fully dry.
Step 2 — Make the Round Hole
Grab the gourd by the stem and let it hang freely between your index finger and thumb. Note the outermost part of the curve, then mark the place for the hole, so it faces straight out. The hole should measure about 2-1/8 inches. You’ll easily drill it with the right size of the hole saw. Wear a face mask to avoid inhaling the particles.
If you want to cut the hole by hand, do so while to gourd is wet since it’s softer. Keep in mind that other wild birds may visit the gourd, so cut the hole to match the needs of purple martins. Now it’s time to make the drainage holes.
Step 3 — Make Drainage Areas
Use a 5/16-inch drill to make 7 drainage holes at the bottom of the gourd. Space them about 2 inches apart. Then drill two holes in the gourd’s neck—this is where you’ll place the wire. These holes will also serve as ventilation. Drill one hole perpendicular to the entrance and the other in line with it. This will allow for proper entrance positioning.
Step 4 — Remove All Seeds
Now it’s time to remove the seeds and inside membrane through the entrance hole. The inside of the gourd doesn’t have to be thoroughly cleaned, but seeds need to be taken care of. If you have trouble, soak the gourd in the water again and let it sit for several hours. This will soften the seeds and help you extract them faster.
Step 5 — Preservative
As noted above, properly priming the gourd will make it last up to 30 years. Use a wood preservative for this step. Dip your gourd for 15 minutes and weigh it down with a brick or another heavy object. Then hang it to dry for several days.
If you’re looking for cheaper options, mix 1 pound of copper sulfate and 5 gallons of warm water. Dip the gourd in, then dry it. Remember — gourds need to be repainted and retreated every few years.
Step 6 — Sand and Paint
Now it’s time to sand and then paint the gourd with an oil-based primer. Paint it with white exterior enamel paint, as water-based paint tends to peel. Apply two coats but don’t clog the drainage holes.
Step 7 — Hang the Gourd
Once the gourd is dry from the paint, thread the hanger wire through the holes directly across from each other. Hang it from a support line on a gourd rack or purple martin pole. Ensure the gourds are 10 to 15 feet high and the entrance hole faces the open area. Do this with up to 6 gourds to attract purple martins.

Gourd House Maintenance
Besides checking for other birds’ nests, use the time in late August/early September to take the gourds down for cleaning. Martins would have left by now, so you can freely work on refreshing their homes. Break up the nests with the handle of a wooden spoon and shake the contents out.
If necessary, repaint the gourd and let it dry. Store the gourds inside until early spring. Keep them away from rodents. Additionally, work on preparing some more gourds, as martins may bring along more friends once they’re back.
Don’t Forget Something Extra
Besides hanging the martin gourd houses, add some bird feeders and bird baths to your yard. This will keep all your visitors happy and clean. Include crushed eggshells for martins, as these help them digest insects. Welcome these swallows every year; you’ll have colonies in no time.
Finally, ensure predators and enemies can’t access their homes during the season. Attach a guard on martin’s house to save their eggs and young. Plus, you can keep other birds away if you make separate homes for them.

